

 PA
PA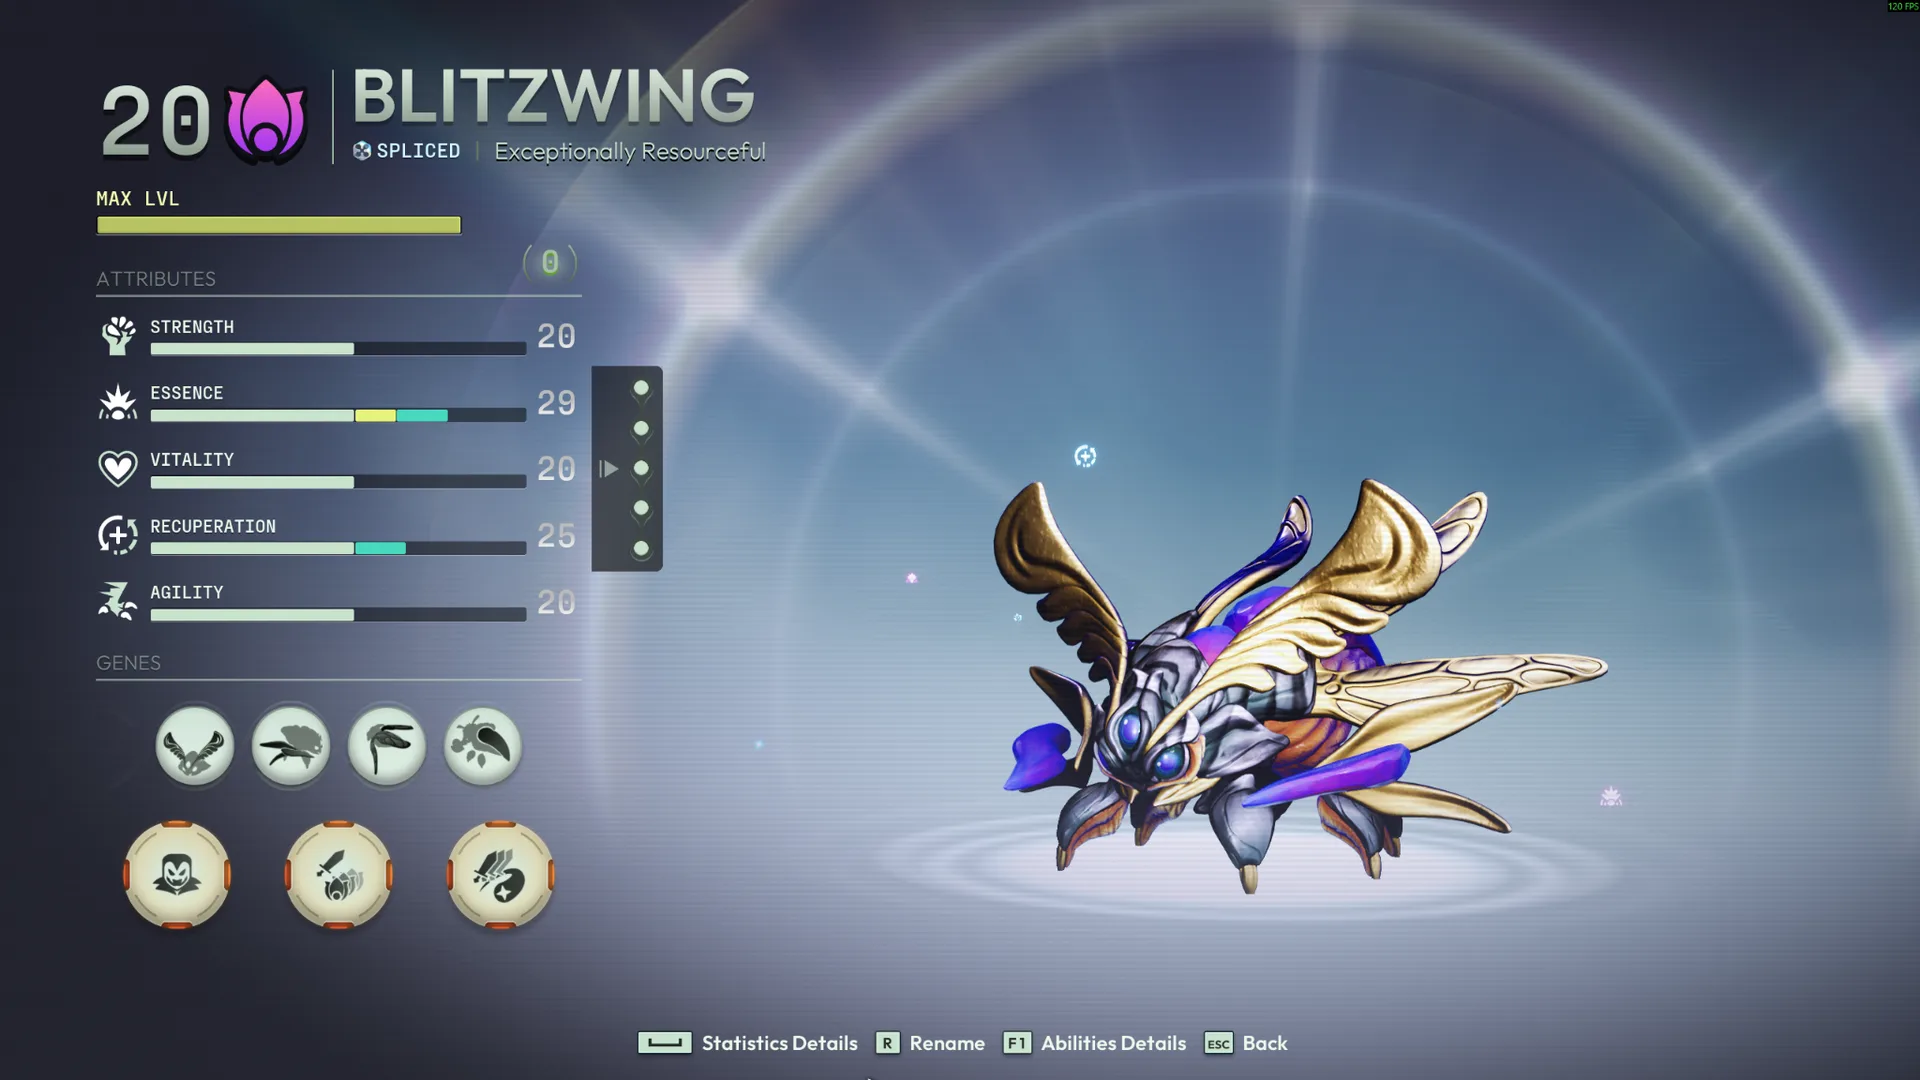
More images
Build dossier
Blitzwing Packuran
 Plasma·Packuran
The theory
Blitzwing is built around taking Packuran’s inherent armor and damage stack-producing kit and making it far less tedious to maintain in actual fights.
Packuran already generates both naturally. Concussive Slam during your secondary gives armor stacks, while using Concussive Slam during your primary gives damage stacks. At full native buffs, that means 5 armor stacks and 5 damage stacks, with the damage side giving another 100% damage.
The problem, at least for me, is that maintaining the damage side this way is extremely tedious and sometimes feels outright buggy. I can do the required trigger several times and still have it fail to register, leading to dropped stacks and a lot of lost DPS.
That is where Amplification and Blocking Charge come in.
Amplification gives you another much easier source of damage while also adding up to 5 stacks of cooldown reduction. Blocking Charge then becomes the tool that helps refresh all three parts of the build. A quick tap refreshes your Amplification damage and cooldown stacks without interrupting your held primary, while actually charging through enemies gives you armor.
That redundancy is intentional. I would rather have several reliable ways to keep everything running than constantly babysit Packuran’s native triggers while also managing stamina, abilities, movement, and positioning.
How You Play It
Start by using Blocking Charge to build your armor quickly, then get your damage and cooldown buffs rolling.
From there, hold down your primary and stay right on top of the enemy. Power Source rewards that with up to another 100% primary damage.
Since the primary knocks smaller enemies backward, try to push them toward a wall and keep moving with them so they stay in range.
While holding primary, constantly jump and weave Concussive Slam in the air. It comes out faster this way than if you stay planted on the ground, so as soon as you land, jump again and keep slamming.
That is where the whole attack-dragonfly look comes from. Packuran is constantly bouncing around enemies, throwing out AoE shockwaves and micro-stuns while still holding the primary on them.
Your stamina burns extremely fast, so reload whenever you need to.
Then keep Blocking Charge on rotation before your buffs expire. Tap it while holding primary to keep your Amplification buffs refreshed, and periodically charge through something to refresh your armor.
If you mess up, recovery is extremely fast. Even a short charge through one enemy while using Concussive Slam can put you back around 4 of your 5 armor stacks almost immediately.
Blocking Charge also gives Blitzwing a ton of mobility. Once the cooldown reduction is rolling, a fully charged use is basically ready again when the previous one finishes, letting Packuran launch across fights like a little armored jet or comet.
You can also jump-cancel the charge to cut it short and immediately redirect, making Packuran surprisingly agile.
And outside combat, you can chain fully charged Blocking Charges back to back through traversal sections, effectively flying across large parts of the stage.
So the basic loop is:
Build buffs → hold primary in their face → jump + aerial Concussive Slam → keep Blocking Charge in the rotation → reload when needed → repeat.
The goal is simple: keep Packuran aggressive, mobile, heavily buffed, and much easier to manage than its native stack maintenance normally allows.
Modules
 +1 Essence
+1 Essence
+1 Essence
+1 Essence
+1 Essence
+1 Essence
+1 Essence
Abilities
PlasmaEffective against all factions.
Status effects
Up to 5 stacks with no damage over time; every stack beyond 5 triggers a Plasma overflow for massive damage.
Floated enemies hover in the air for a few seconds before falling back down.
A swift melee attack that damages nearby enemies.
A short dash that stuns nearby enemies.
Invoke a wormhole that sucks in nearby enemies and collapses into a blast of damage.
Shoot a wave that damages, pushes back, and applies status.
Plasma
Status effects
Up to 5 stacks with no damage over time; every stack beyond 5 triggers a Plasma overflow for massive damage.
Floated enemies hover in the air for a few seconds before falling back down.
Charge a dash granting Armor per enemy, with Block while charging.
Plasma
Status effects
Up to 5 stacks with no damage over time; every stack beyond 5 triggers a Plasma overflow for massive damage.
Floated enemies hover in the air for a few seconds before falling back down.
Perks
 Anami
Anami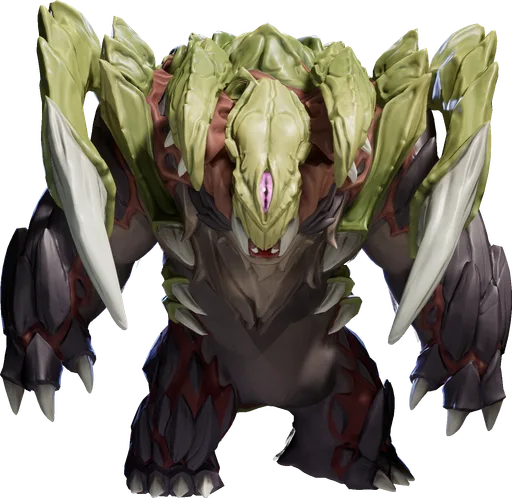 Ur-Sek
 Gwigoon
Catalyzers · ordered
 Elemental Power
+32% Elemental Damage Bonus
Elemental Power
+32% Elemental Damage Bonus
 Pure Element
-100% Attack Power, +400% Elemental Damage Bonus
Pure Element
-100% Attack Power, +400% Elemental Damage Bonus
 Max Health
+800 Health
Max Health
+800 Health
 Lumbering Vitality
+100% Health, -25% Speed
Lumbering Vitality
+100% Health, -25% Speed
 Cooldown
+20% Cooldown Reduction
Cooldown
+20% Cooldown Reduction
No comments yet. Be the first to weigh in.