More images
Description
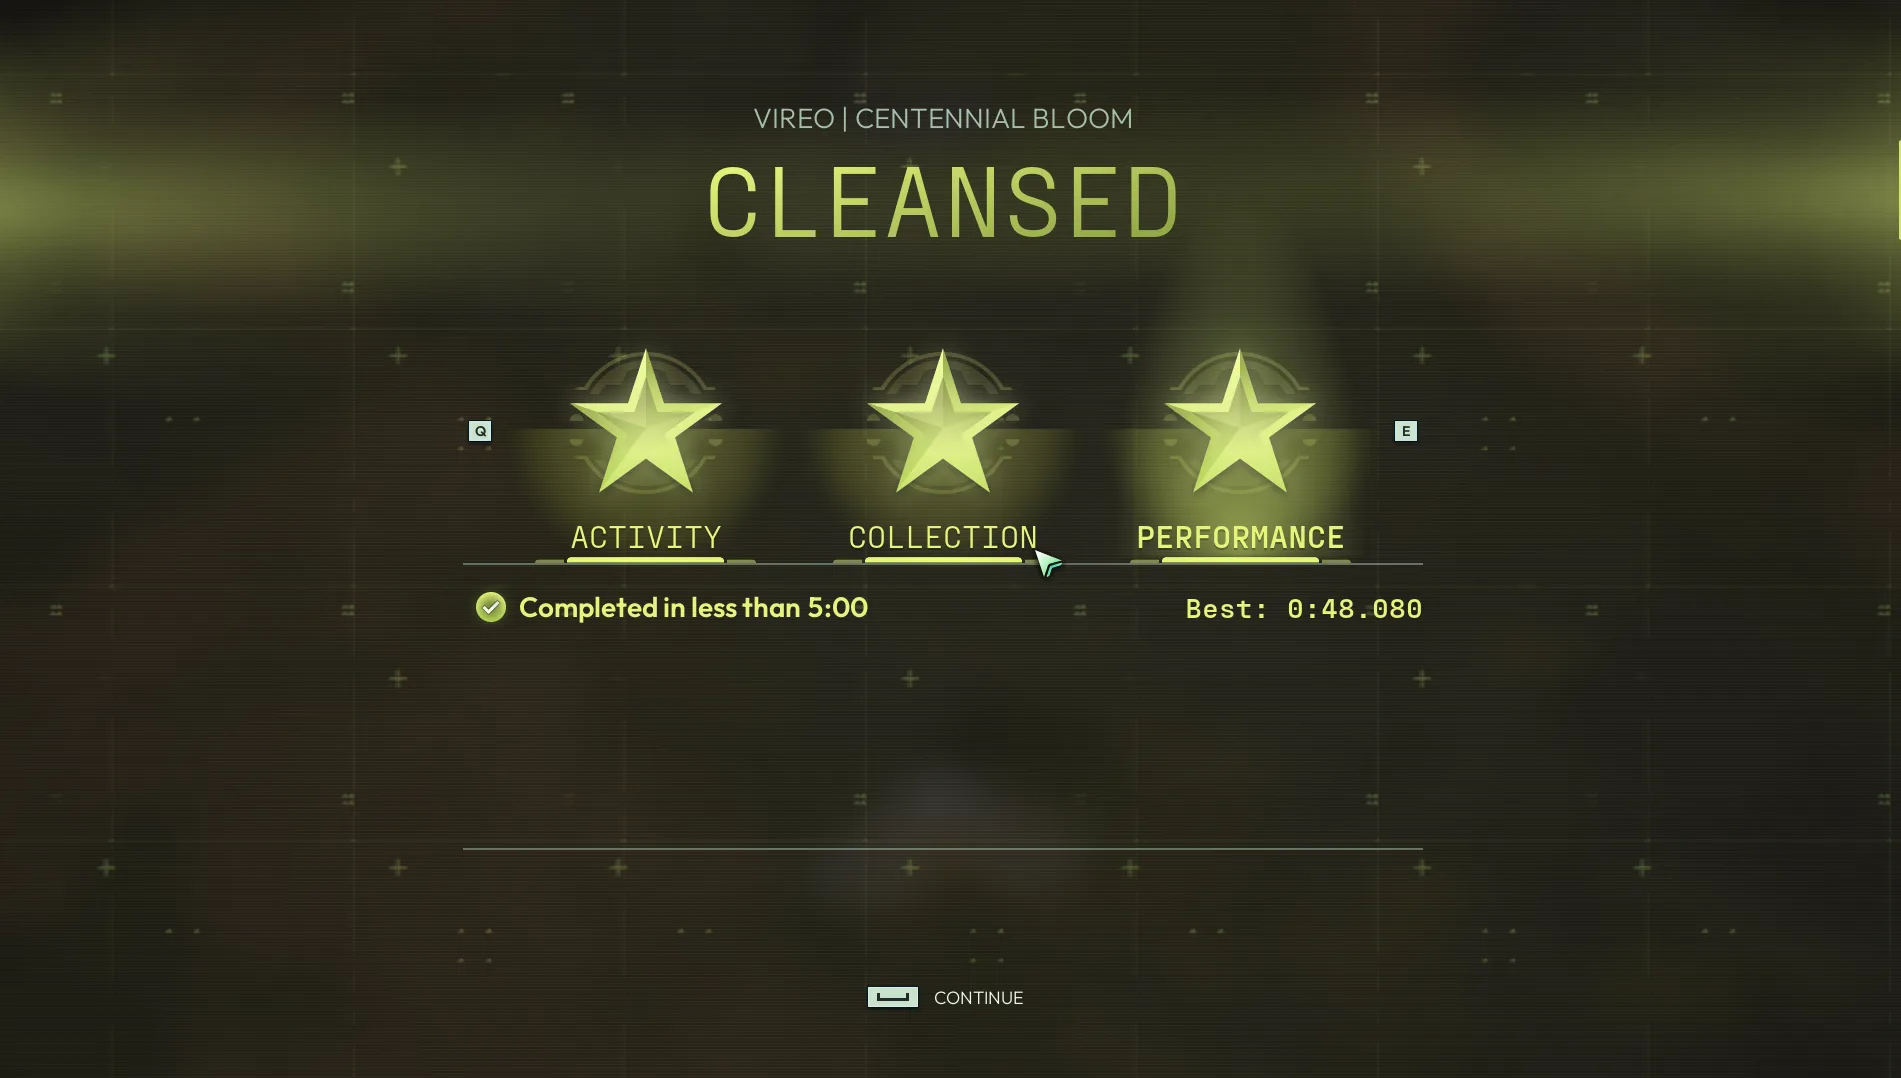
I use this build to quickly go through Centennial Bloom on Vireo. Using this strategy is one of the fastest ways I've found to breed your Voidlings. I've tried other maps and the wave format seems too slow.
- As soon as the ship is opening up jump over the first arch in to the second area. Continue sprinting for a glide toward the next lesion covered bloom.
- You have to double dash toward the bloom (you can be over it while using primary ability with Nimiod) in order to progress to the next area. (This door has invisible walls you can't get past)
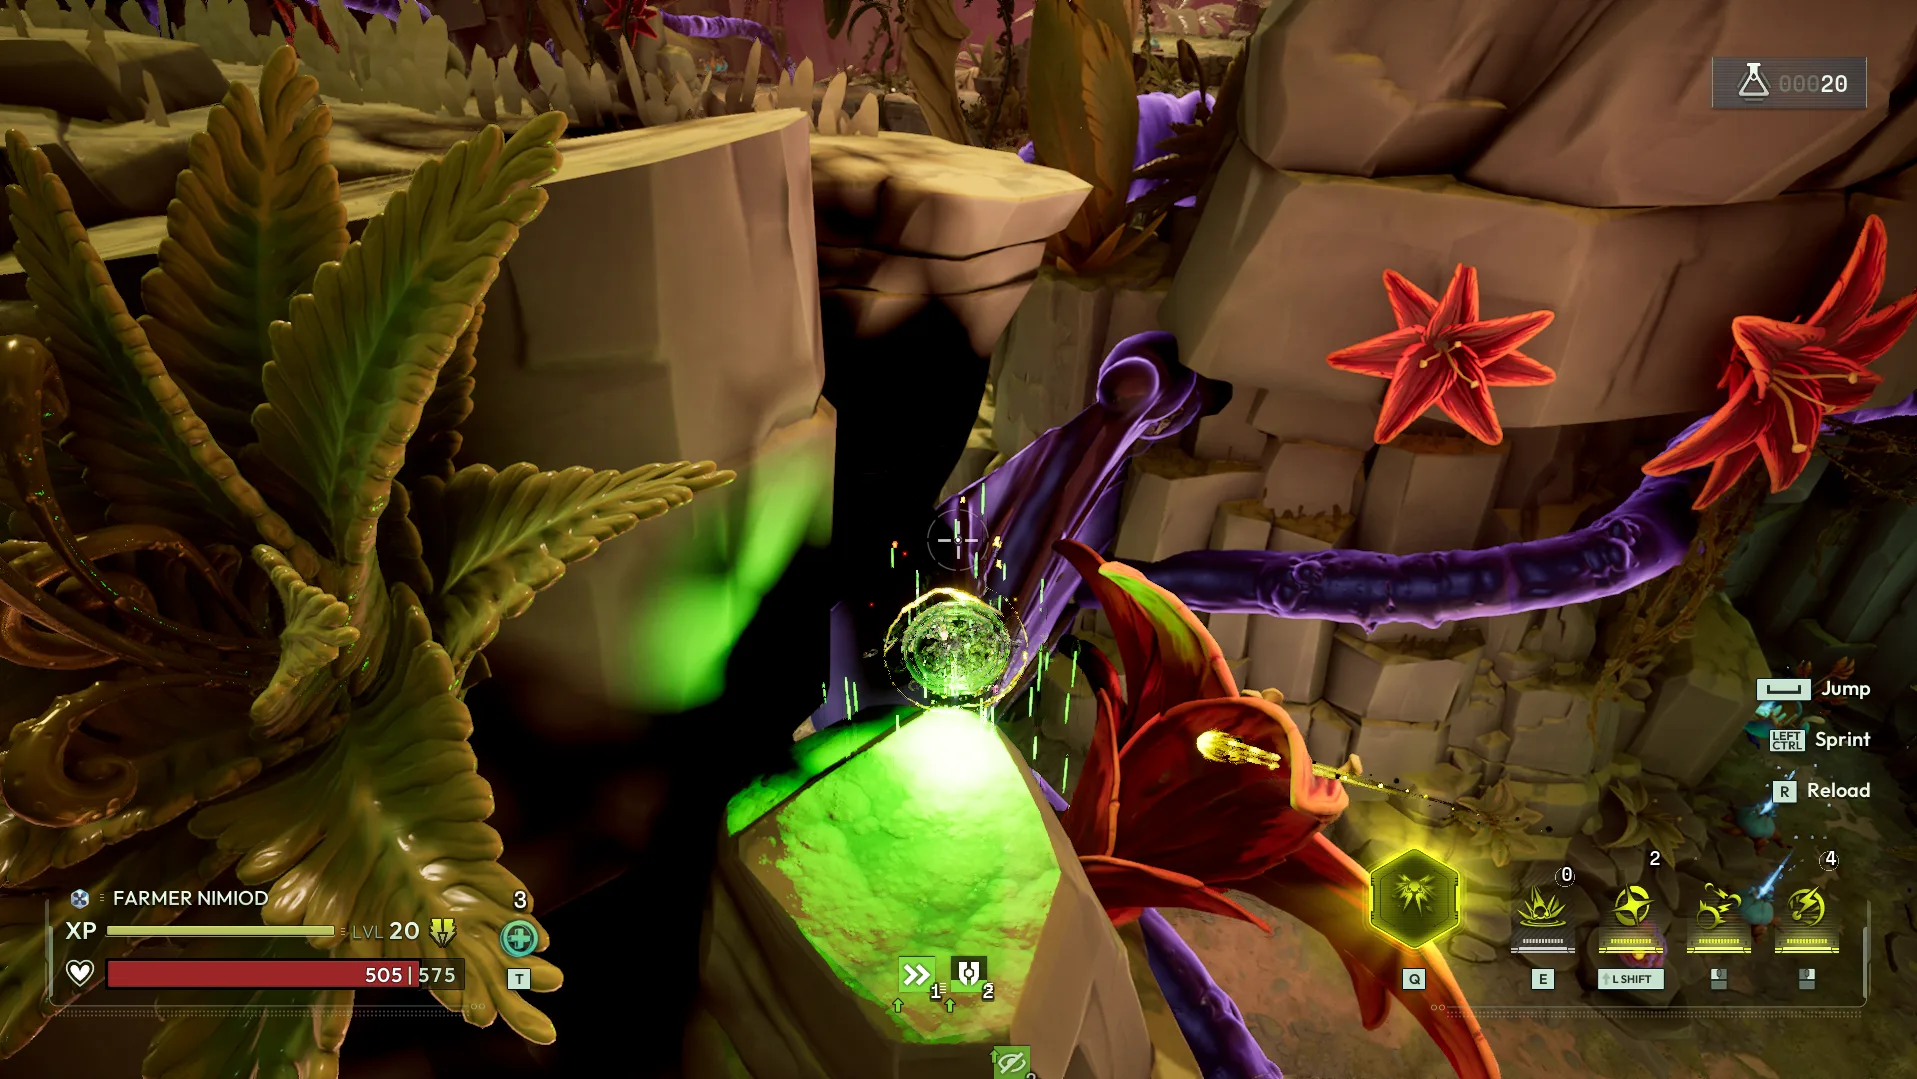
- After you get through this door use a double dash directly toward the door. If you barely jump over the door there is a lesion artery across the top of the frame. You can squeeze between it and the door if you have a miniscule sized Nimiod on in to the fourth area (a screenshot is included of where to aim).
- There are 3 lesion blooms in this area, and the door is impassable, so you have to get all 3. If you shoot one Sub Zero Node toward the one straight in front of you little left of the middle of the bridge (try and aim a little over the bridge because your node can stick and it will miss) you can hit it as you turn toward the bloom on your right. Jump up and single dash towards it and then turn to your left and dash along the bridge to the final lesion bloom. After you collect that bloom just sprint to the door so you can save your dashes for the final room.
- While the door is still down use your primary ability to kill the 2 lesion-spawns through the wall so they dont get in your way. Once the door fades away dash once towards the left side of the bridge and shoot a node on the middle of lesion pillar to your left (if you try to use your primary ability immediately it shoots your character downwards for a split second so wait until youre over solid ground otherwise you might kill yourself). Following that node shoot one to the far right section of lesion bubbles. Continue moving left and using your primary ability while double dashing to the far left to get all the lesions. You should have one dash remaining and that can be used in front of the giant bloom to clear up almost all of the lesions immediately.
- Once you have cleared the lesions go back towards the middle of the arena on otp of the orb and use your ultimate. Continue jumping directly over where the level boss spawns while using your primary ability (I've found if you dont stand directly on top of the level boss he wont immediately die).
- I average around 50-52 seconds which is far better than some of the other breeder farming methods I've seen.
Nature|
Exceptionally Relentless
Cooldowns + Move Speed
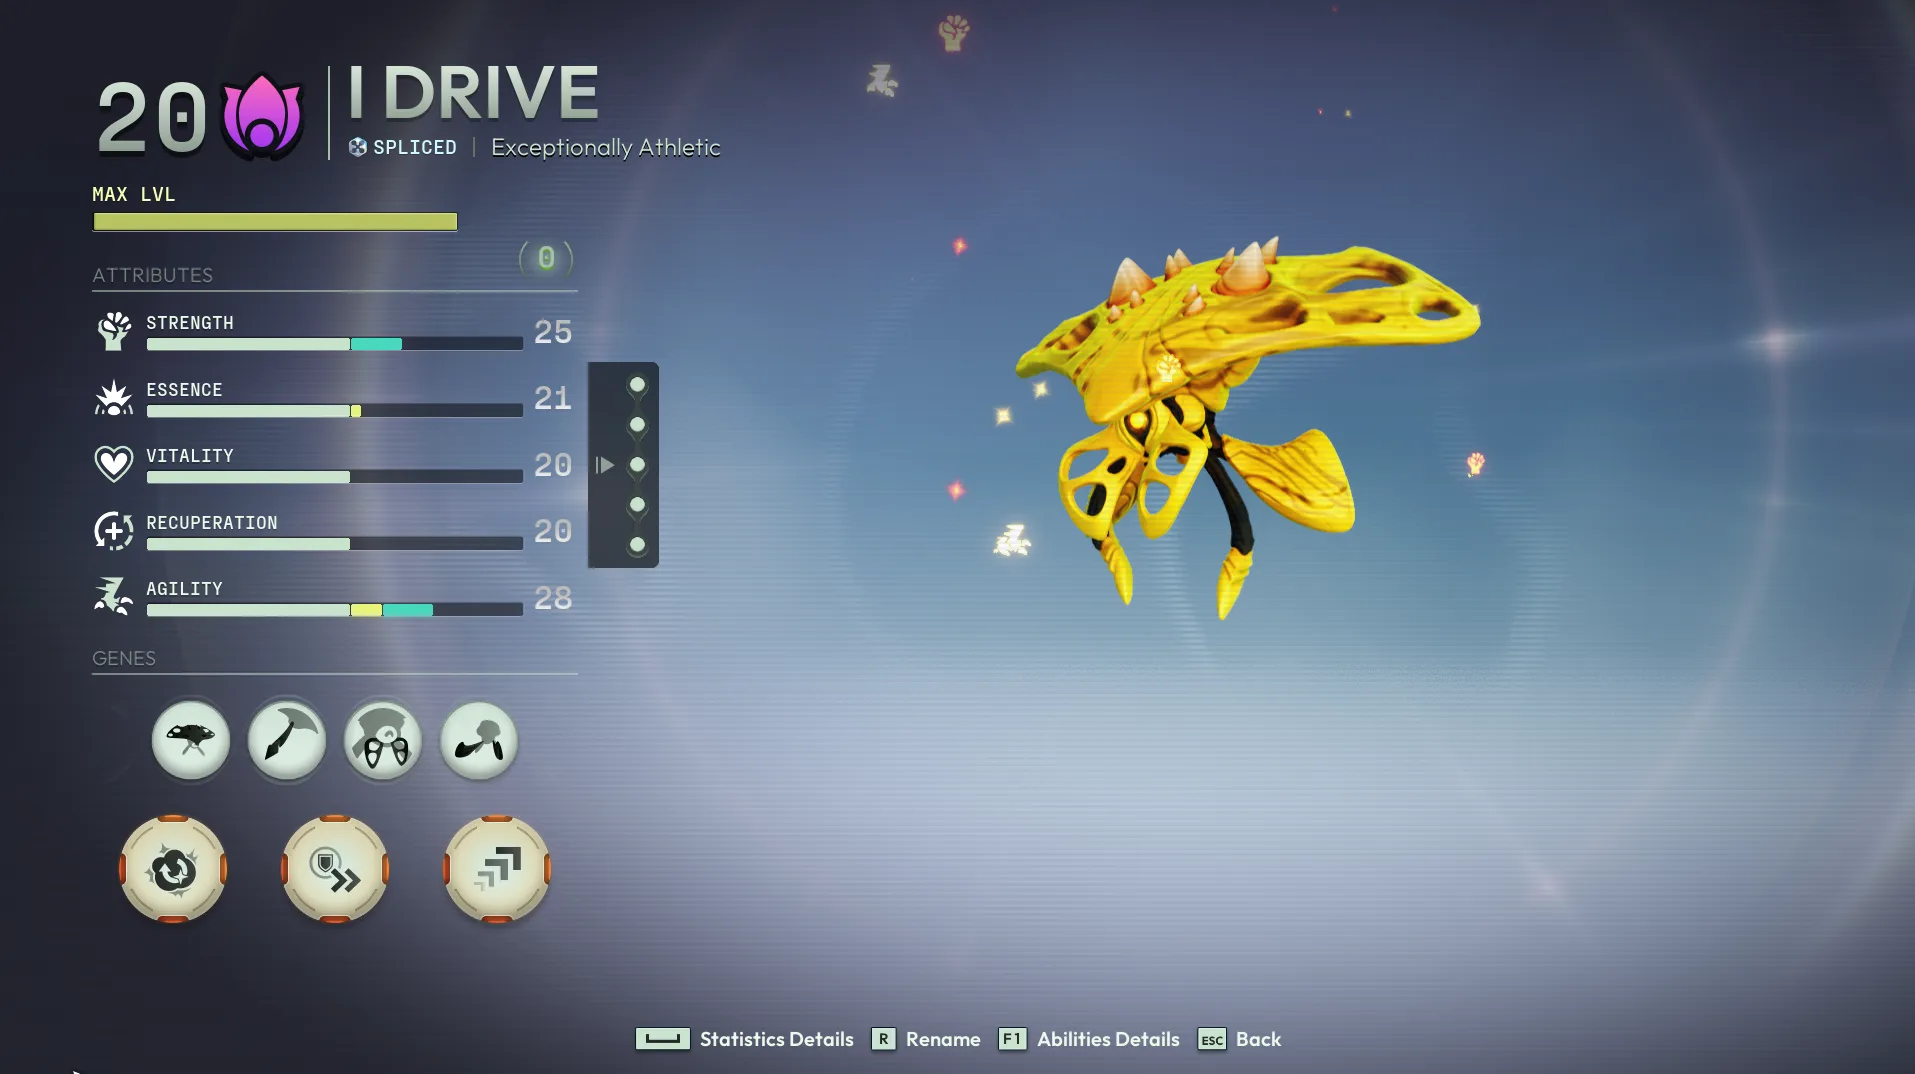
I had a spare Exceptionally Athletic I use.
Its such a low level any nature will do as long as Agility is one of them.
Attributes|
Strength - 20
Essence - 21
Vitality - 20
Recuperation - 25
Agility - 28
Genes|
Aerodynamic Cap
Swift Tentacles
Holed Mouth
Posterior Lappets
Mutated Genes|
Recycling - Kerapin
When traversing the level you can quickly regenerate nodes if you need them.
Swift Evasion - Gwigoon
Dashes with movespeed? Whats not to like?
Zeal - Gwigoon
There are enemeies everywhere on this level so you will pretty much always have 5 speed.
Catalyzers Top to Bottom|
Speed - Utility
Endurance Runner - Utility
Enhanced Cooling - Utility
Speed Demon - Utility
Ultimate Fill - Utility
If you dont have any ultimate cooldown reduction you will be too quick to the boss to activate your ultimate.
Appearance|
Zapping Yellow - Anami (race car vibes)
Explosive Yellow - Gwigoon
Coral Reef - Kerapin
Miniscule - Size
Very important to get miniscule size for the door on step 3.
Attributes
Base · Modules · Nature
Modules (4 slots)
Main Element
Status effects
Up to 5 stacks with no damage over time; every stack beyond 5 triggers a Plasma overflow for massive damage.
Floated enemies hover in the air for a few seconds before falling back down.
Abilities
Send a spark of electricity that chains towards the 3 closest enemies.
Status effects
Up to 5 stacks with no damage over time; every stack beyond 5 triggers a Plasma overflow for massive damage.
Floated enemies hover in the air for a few seconds before falling back down.
Deploy a node that grants increased Speed, Critical Chance and Fire Rate.
Status effects
Up to 5 stacks with no damage over time; every stack beyond 5 triggers a Plasma overflow for massive damage.
Floated enemies hover in the air for a few seconds before falling back down.
Perks
Catalyzers (ordered)
+6.00m/s Speed
+3.00m/s Speed, +275 Stamina
+10% Cooldown Reduction, +20% Speed
+50% Speed, -50% Health
+100% Ultimate Fill Rate, -50% Health
Takes 0 effort and you can do it in less than 1 minute. So we're talking about 10sec for zero effort.